The newtek tricaster TC mini
NewTek has released a new TriCaster, the TriCaster TC Mini . . . the latest information and more!
While the product name may be a little confusing (it really should be called the TriCaster Mini NDI or the Mini 4K) this new system is a game changer for doing live portable and studio video production. All of the features that you love about the TriCaster that makes it the ultimate system for doing live video switching, recording and streaming … easily switching between multiple video cameras, graphics, video clips and other media, the ability to record multiple files plus two separate streams and upload to social media. ISO-recording, controlling PTZ video cameras … are found in the new Mini. What’s missing are the traditional HDMI, SDI or analog video inputs and outputs for connecting your video cameras, playback devices or video confidence monitors.
Ok . . . I’m sure you’re thinking, how do I connect my video cameras to do a live show?
Answer . . . either use a video camera that has an NDI port like the Panasonic AG-CX350 or use NDI encoders from NewTek, BirdDog or other developers for bringing in HDMI or SDI and converting it to an NDI/IP video source. The new TriCaster Mini has four plug-n-play NDI ports that allow you to directly connect an NDI camera like the Panasonic AG-CX350 to the new Mini using a standard CAT-6 cable. If your camera doesn’t have an NDI port built into it, then you take the HDMI (or SDI) video output from your video camera, plug that signal into the NDI encoder and run a CAT-6 cable from the NDI encoder to the TriCaster. Because it is plug-n-play you don’t have to be an IT wizard and set up a computer network with IP addresses for your video cameras and other sources. This new TriCaster Mini really is a leap forward for using IP video.
Panasonic just announced a series of new 4K cameras to be released March 2020 that includes the AG-CX10. The CX10 has a 24x fixed Leica Dicomar zoom lens offering up to a 600mm angle of view, NDI HX support and 10-bit 4K internal recording. Price is reportedly $2,795.00, substantially less than the $3,995.00 AG-CX350. Reportedly, 4K is not yet supported thru NDI-HX on these cameras. Reportedly, 4K is not yet supported through NDI-HX on these cameras.
So . . . why would I want to do that?
Answer: Because it is the future of doing video production. It isn’t about using video and audio anymore, it’s about using data. More and more companies are developing cutting-edge products for the NDI marketplace including portable video cameras, graphics software and storage devices. Another reason … you can run a CAT-6 cable a lot longer than you can run an HDMI cable, say 300 feet versus 100 feet. And the CAT-6 cable connectors lock into place unlike an HDMI cable. All while carrying a 4K signal.
Did we mention that the new TriCaster Mini supports 4K resolutions up to 2160p60? This means you can take the 4K HDMI output from your video camera, plug it into a NewTek NDI encoder and send a 4K signal into the TriCaster Mini. NewTek gives you two of their 4K NDI encoders with each TriCaster Mini. If you have a camera like the Panasonic AG-AC350 you can go directly from the NDI port on the camera to an NDI port on the TriCaster Mini and bring in a 4K signal.
What is another cool feature of the new TriCaster Mini?
The NDI|HX Camera Application for Mobile Devices! Which is available as a download from the Apple store. This allows 4K UHD video from an iOS device to be transmitted over Wi-Fi as an NDI source and connect with the new TriCaster Mini. This means you can bring in live video from your iPhone. Enough said!
How much does the new TriCaster Mini cost?
Answer: $8,995.00 … and that includes two NDI encoders that work with 4K HDMI video sources. Bundles are available that include the TriCaster Mini along with either a TriCaster Mini control surface or the larger TC1SP control surface, a custom travel case for the Mini plus two NDI encoders.
NewTek is also including a free six-month subscription to their Premium Access software with your new TriCaster Mini purchase. Premium Access includes a number of additional capabilities (LiveGraphics, LivePanel, NDI KVM, Advanced Audio, Virtual PTZ and access to special LiveSet content) that greatly add to your TriCaster Mini’s capabilities. Optionally, you can purchase the ProTek warranty for your TriCaster Mini and receive two years of the comprehensive ProTek warranty and a two-year Premium Access subscription at a greatly reduced cost.
Have more questions? Need more info? Fill out the form below or call Matt Drabick with DigiTek Systems at 919 810 9457.
Images with captions and more information follow below!
Rear view of the new TriCaster TC Mini showing the four NDI inputs for connecting video cameras and other sources. Image taken from our NewTek TriCaster TC Mini demo system at our office in Raleigh, NC. Contact us if you want to buy one from us.
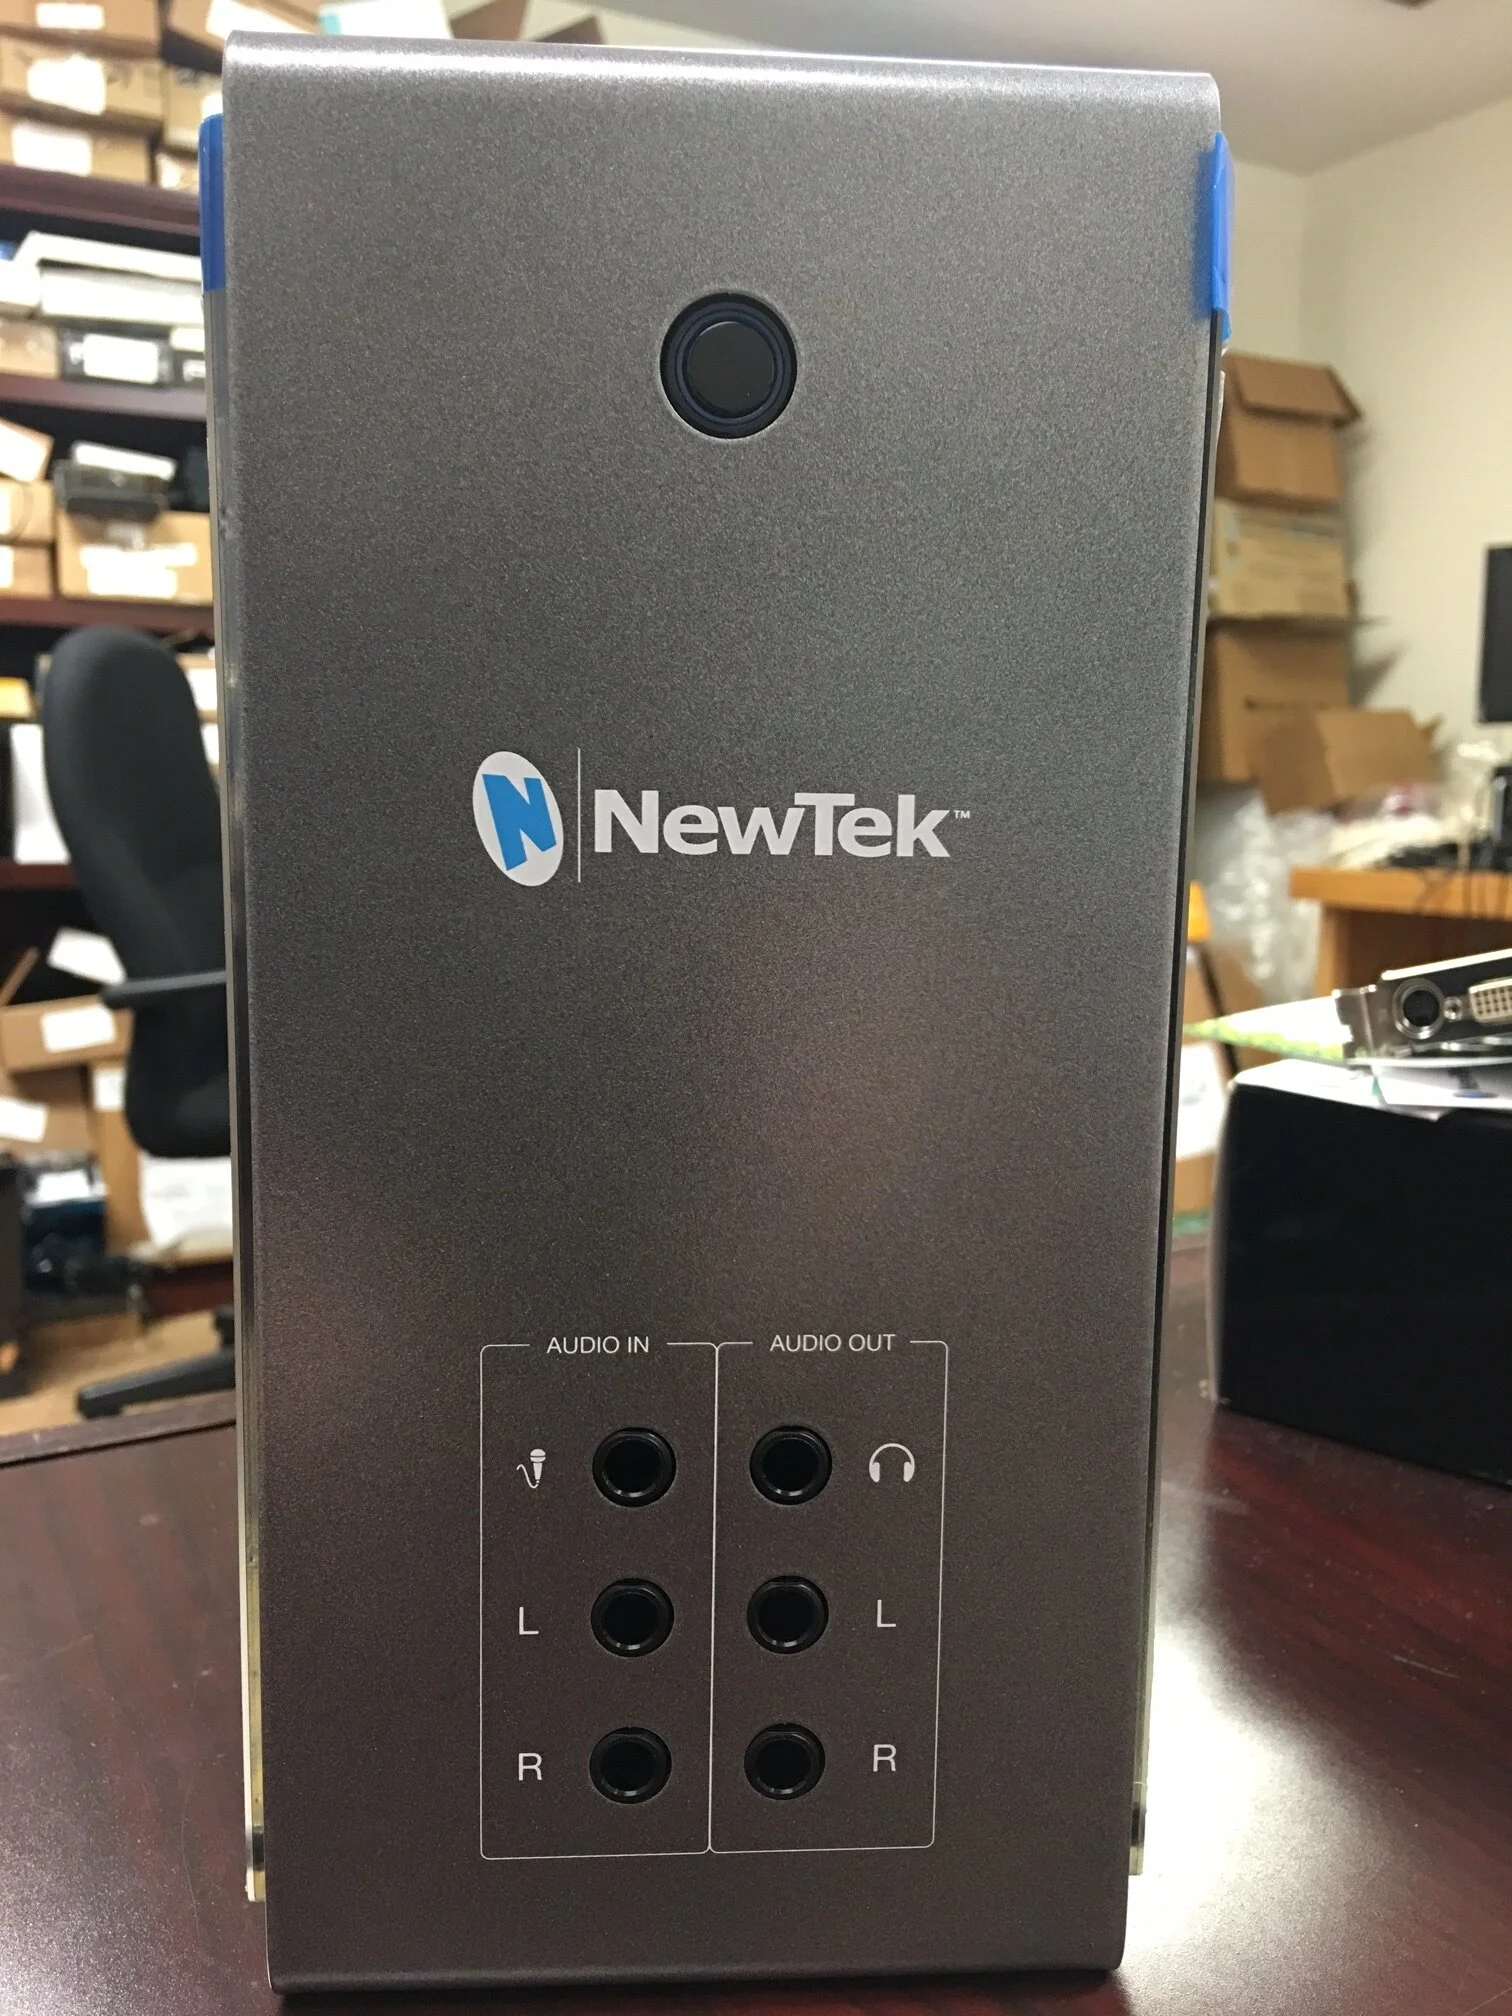
The flip side of the NewTek TriCaster TC Mini showing the lack of traditional video inputs and outputs. Analog audio inputs and outputs are still there.
The NewTek TriCaster TC Mini and some of its resolution and frame rate options including 4K . . . .
Accessory kit included with the new TriCaster TC Mini including the two 4K HDMI Input Modules, a pair of network cables, some cool sunglasses and some display port adapters for connecting the TriCaster to a computer monitor.
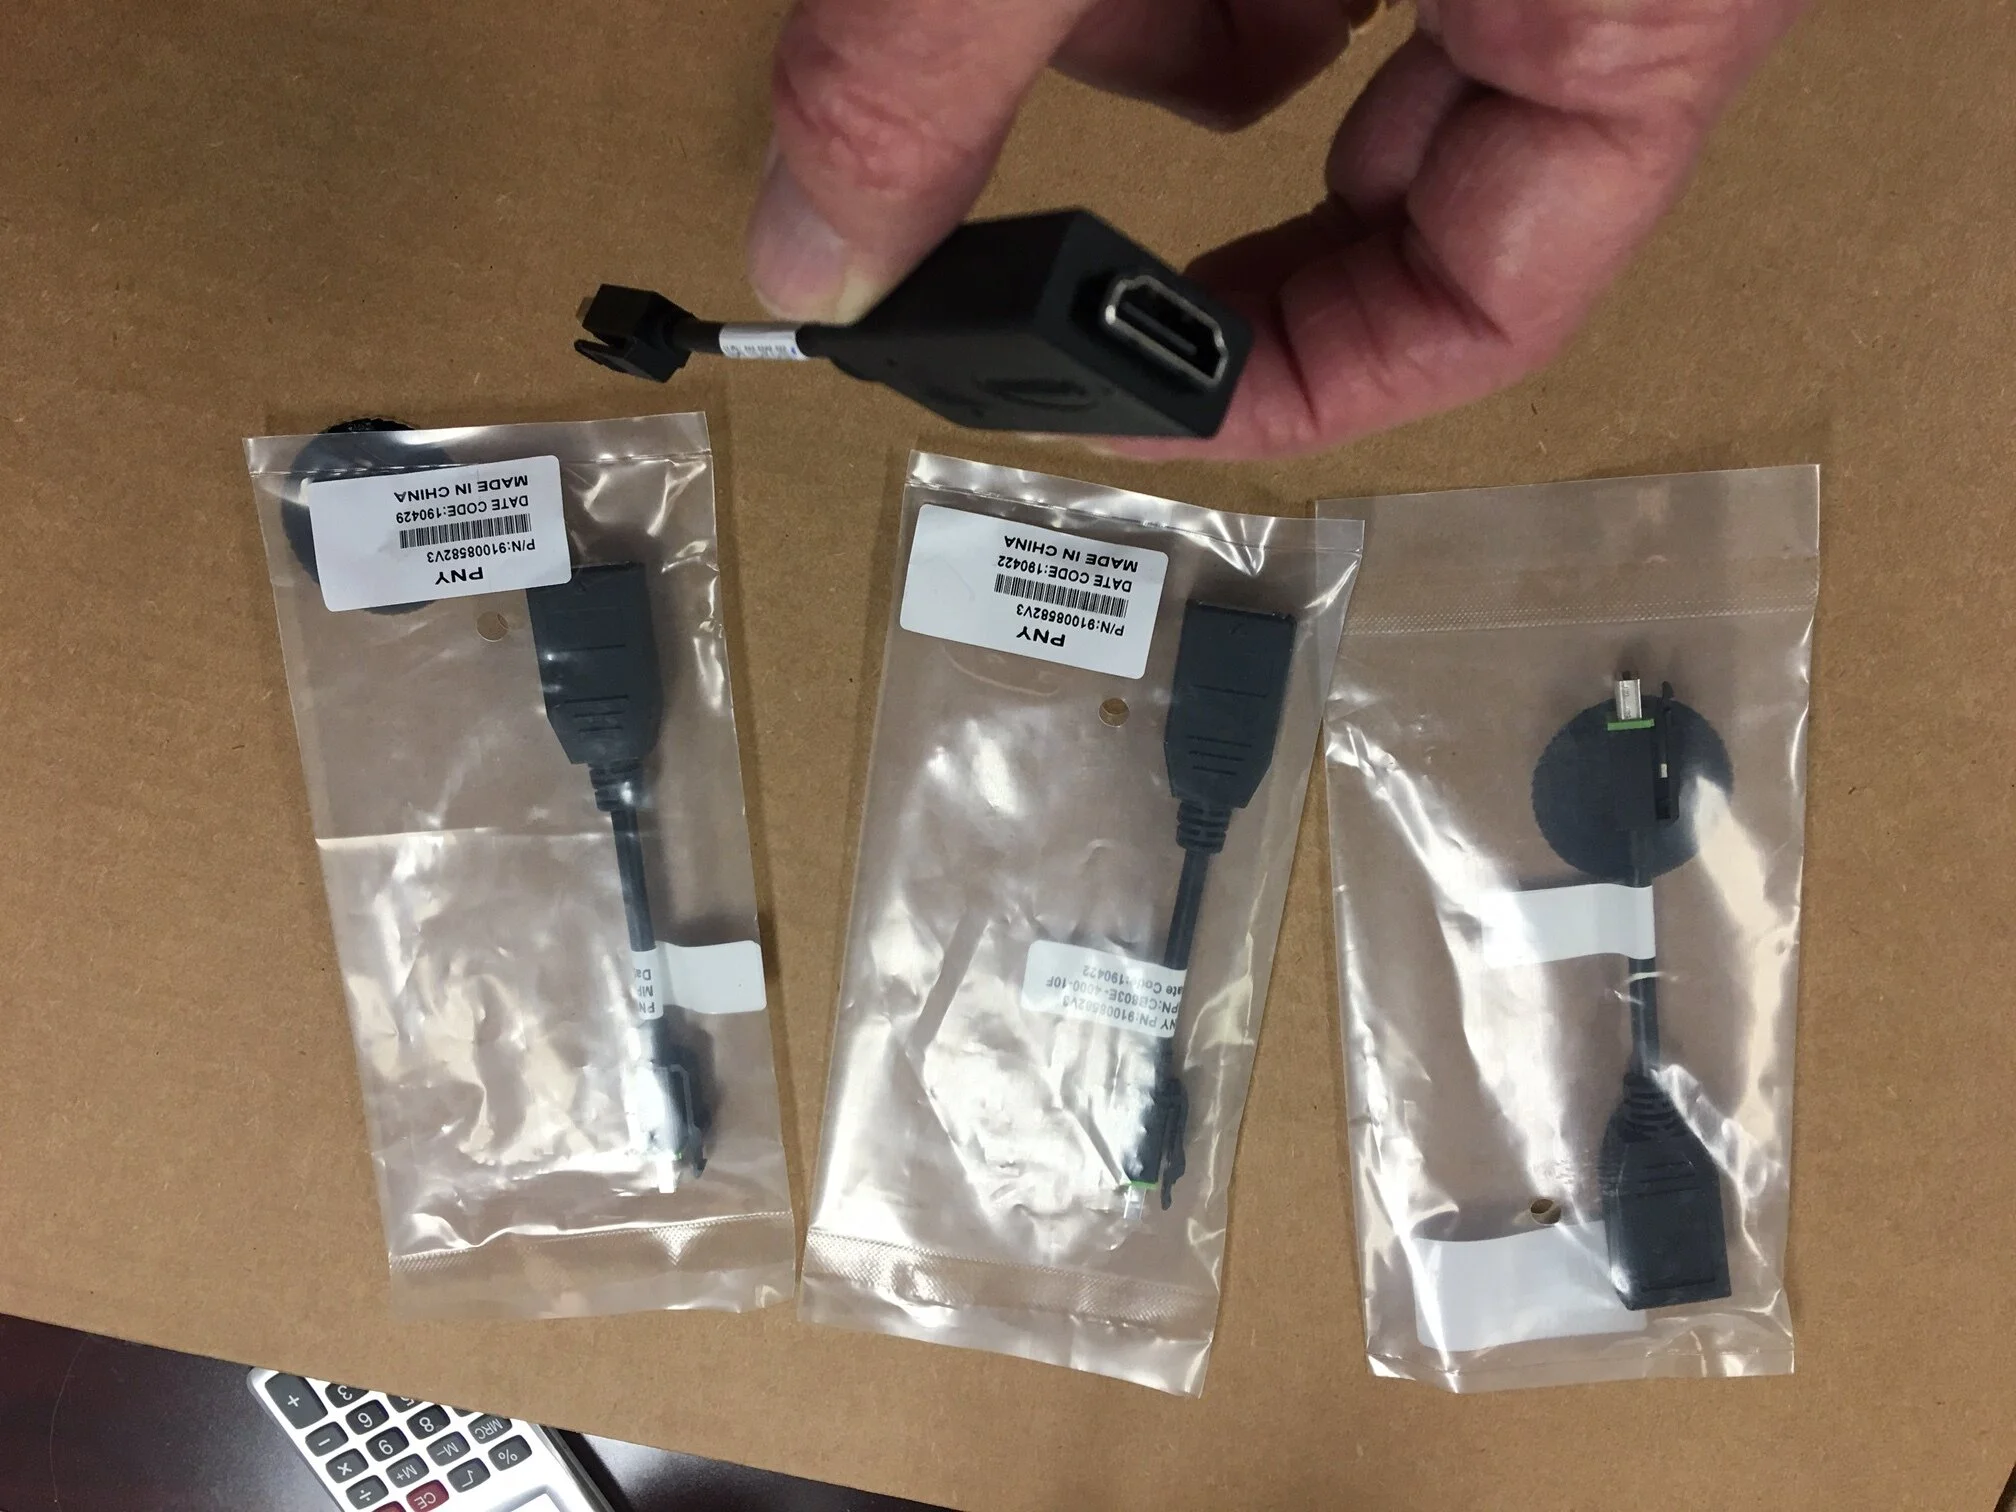
Three mini display port to full display port adapters are included with the above accessory kit plus a mini display port to HDMI adapter . . . . The TC Mini had four mini display ports for connecting the user interface and Multiview monitors to the TriCaster.
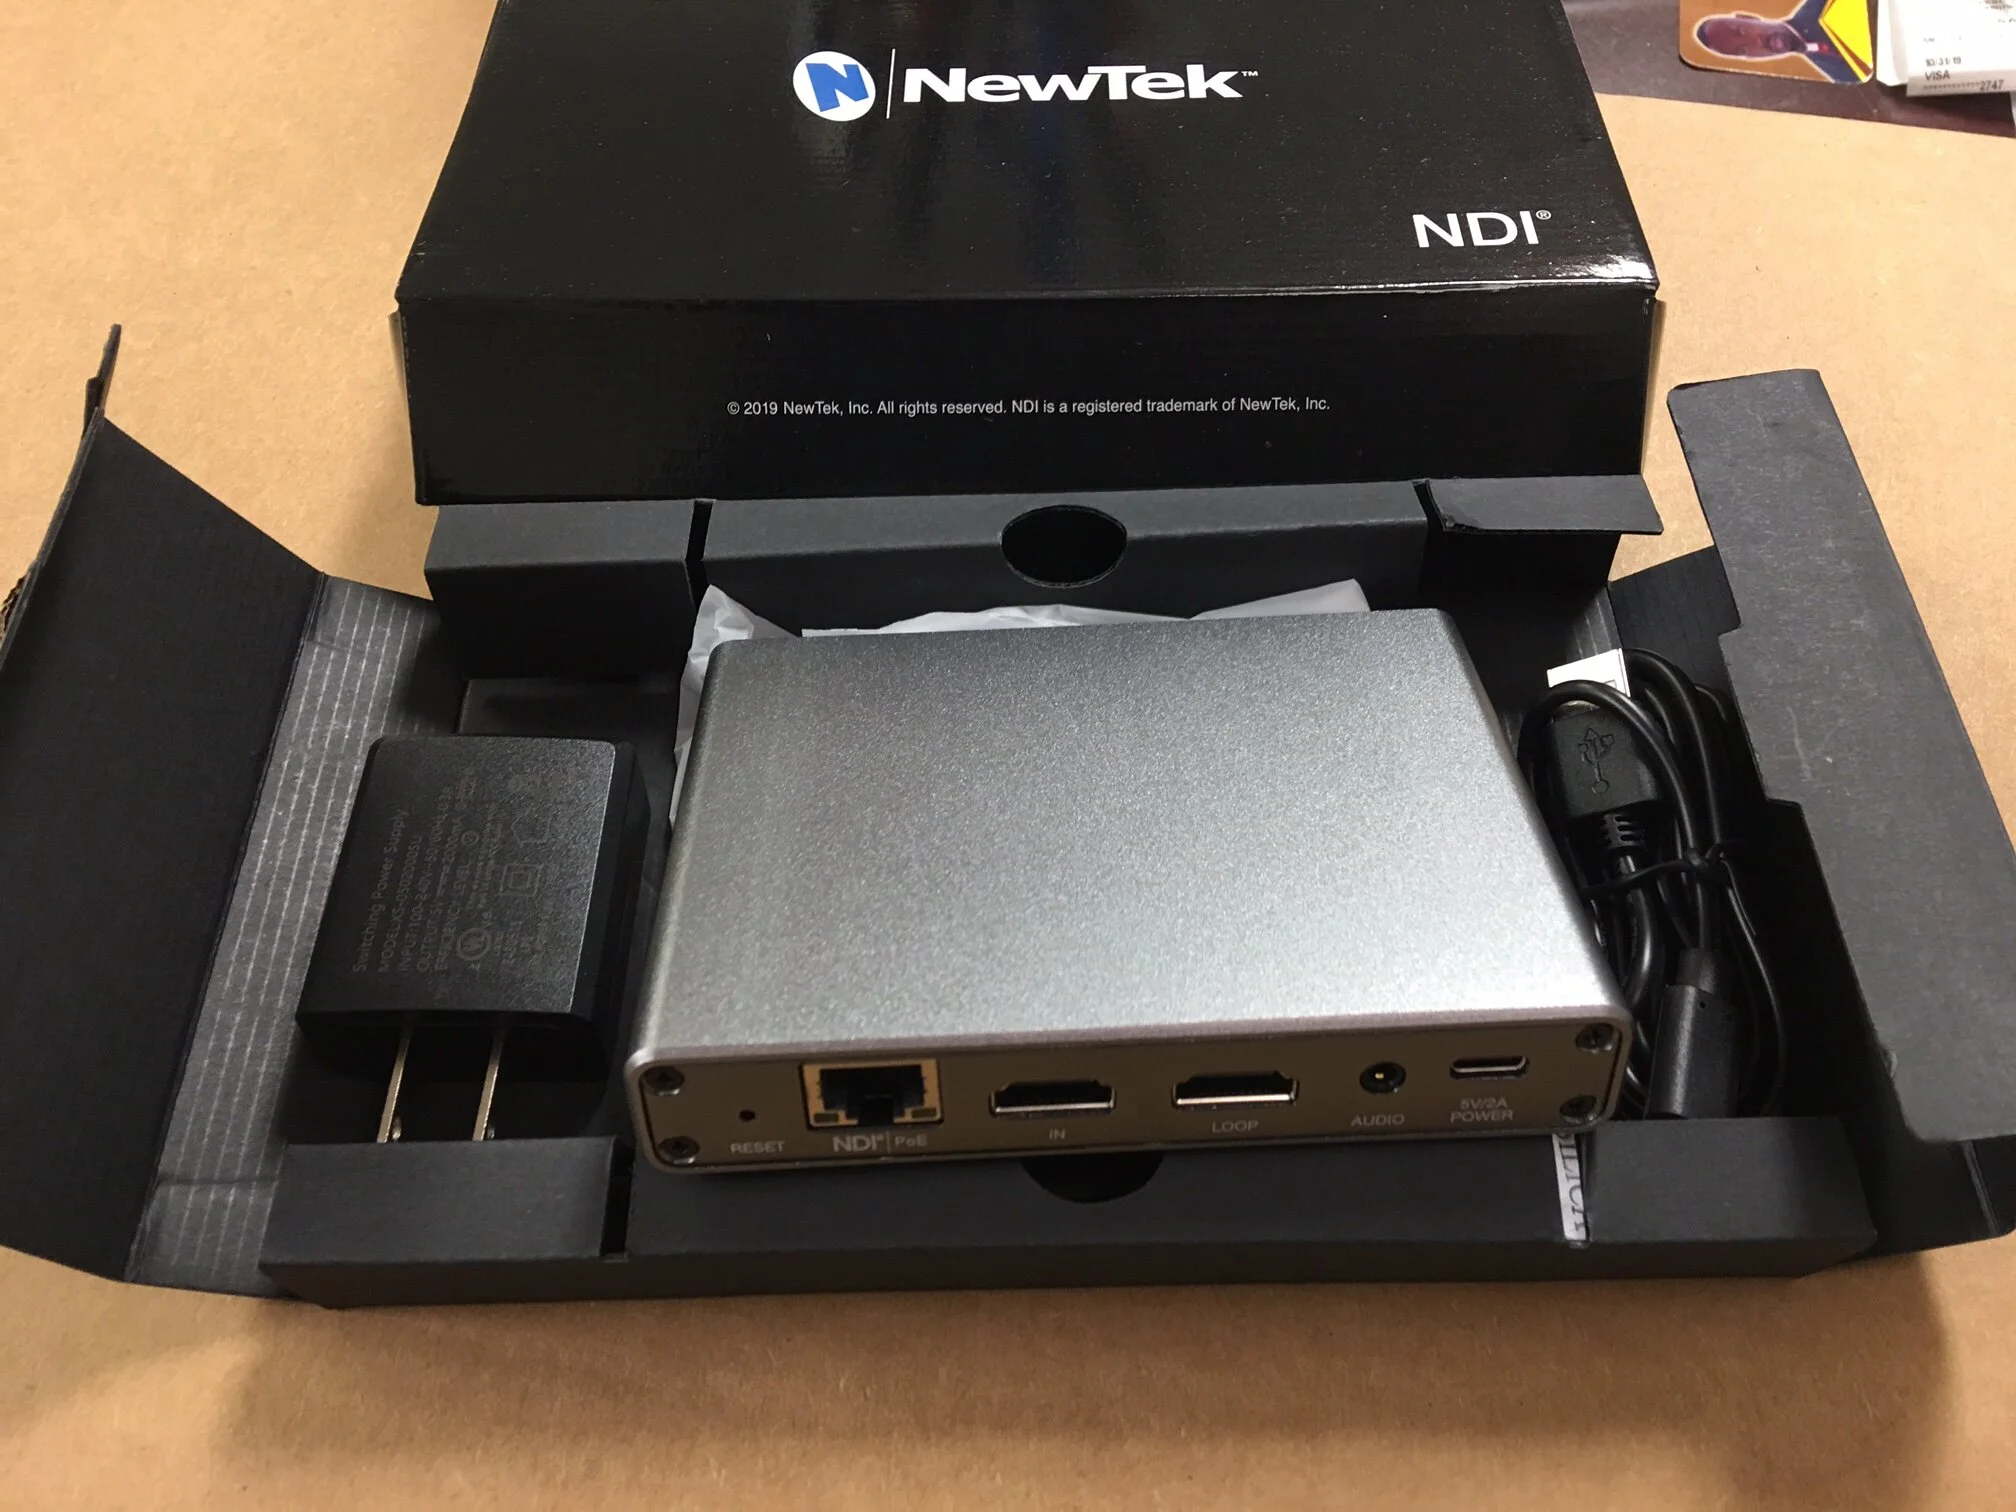
One of two 4K Input Modules included with the NewTek TriCaster TCMini for bringing in a 4K HDMI video signal
The future’s so bright, you gotta wear shades! (one pair included with each new TriCaster TC Mini 4K video switcher)
SOME TIPS ABOUT WORKING WITH THE NEW TRICASTER TC MINI
1) When working with the system for the first time you will need internet access to register the system with NewTek. You won’t be able to use the TriCaster until you do so. Unlike previous TriCasters which allowed you to enter just the serial number to get the system running for testing purposes (albeit with the NewTek watermark stamp on the output) the system won’t run until you register it with NewTek. While this is a simple process to complete, you want to do this before going live with the system.
2) We also discovered that the two Input Modules included with the TC Mini (technically not Sparks but that is what they look like) won’t work until you sign the EULA (End User License Agreement). Again, easy to do but if you don’t know how or that you have to even do it, very frustrating. Simply click on the Web Page link for each input module as an NDI source and enter Admin for both the username and password. Accept the EULA and the Input Modules will then work.
3) You can use other NDI encoders besides the two 4K HDMI input modules included with the TC Mini. We connected an older NewTek Connect Spark HDMI to the third NDI port on the TC Mini and were able to bring in a third video source that way. We didn’t have to create a network or set an IP address on the Connect Spark HDMI to get it working with the TC Mini. The TC Mini simply found the third NDI device and made it a new video source to switch with. Any NDI encoder made by NewTek, Birddog or Magewell, etc. should work this way.
4) To take a conventional (non-NDI) video signal out of the TC Mini you have a couple of options . . . you can use one of the four mini diplays ports on the TC Mini and add an adapter to take an HDMI signal directly to a projector or monitor (the TC Mini actually ships with one of those). Or . . . you can use a bidirectional NDI encoder/decoder like a BirdDog Studio connected to the TC Mini and send out an SDI or HDMI video signal. That NDI decoder provides a pair of NDI mix outs and can be connected to either of the four NDI ports or the two house Ethernet ports on the TC Mini. That same device will let you take SDI and/or HDMI out of the TriCaster TC Mini as well.
5) You can connect another NDI-enabled TriCaster to the TC Mini! I connected a CAT-6 cable to a TriCaster 410’s network port running the AE3 software to an NDI port on the TC Mini. The TriCaster 410 showed up as a source to the TC Mini . . . really cool!
6) I connected a NewTek PTZ1 NDI camera directly to an NDI port on the TC Mini (Cat6 to Cat6) and the camera was recognized by the Mini. I was able to control the camera within the Mini software interface (pan, tilt and zoom). I did have to supply power to the camera. The Mini is only PoE and not PoE+.
7) This probably seems obvious but . . . you can connect your laptop directly to one of the NDI ports on the TC Mini using a network cable (assuming your laptop has a network port) and bring in your graphics that way . . . either from a PowerPoint presentation or below, from NewBlueFX titling software). Please see the two images below that demonstrate this. Remember that you will need to install the NewTek NDI drivers on your computer or laptop for everything to work together.
NewBlueFX NDI titling software running on my Dell laptop (looks like I need to renew my software license with NewBlueFX!) with my laptop directly connected to one of the TC Mini’s NDI ports using a CAT-6 network cable.
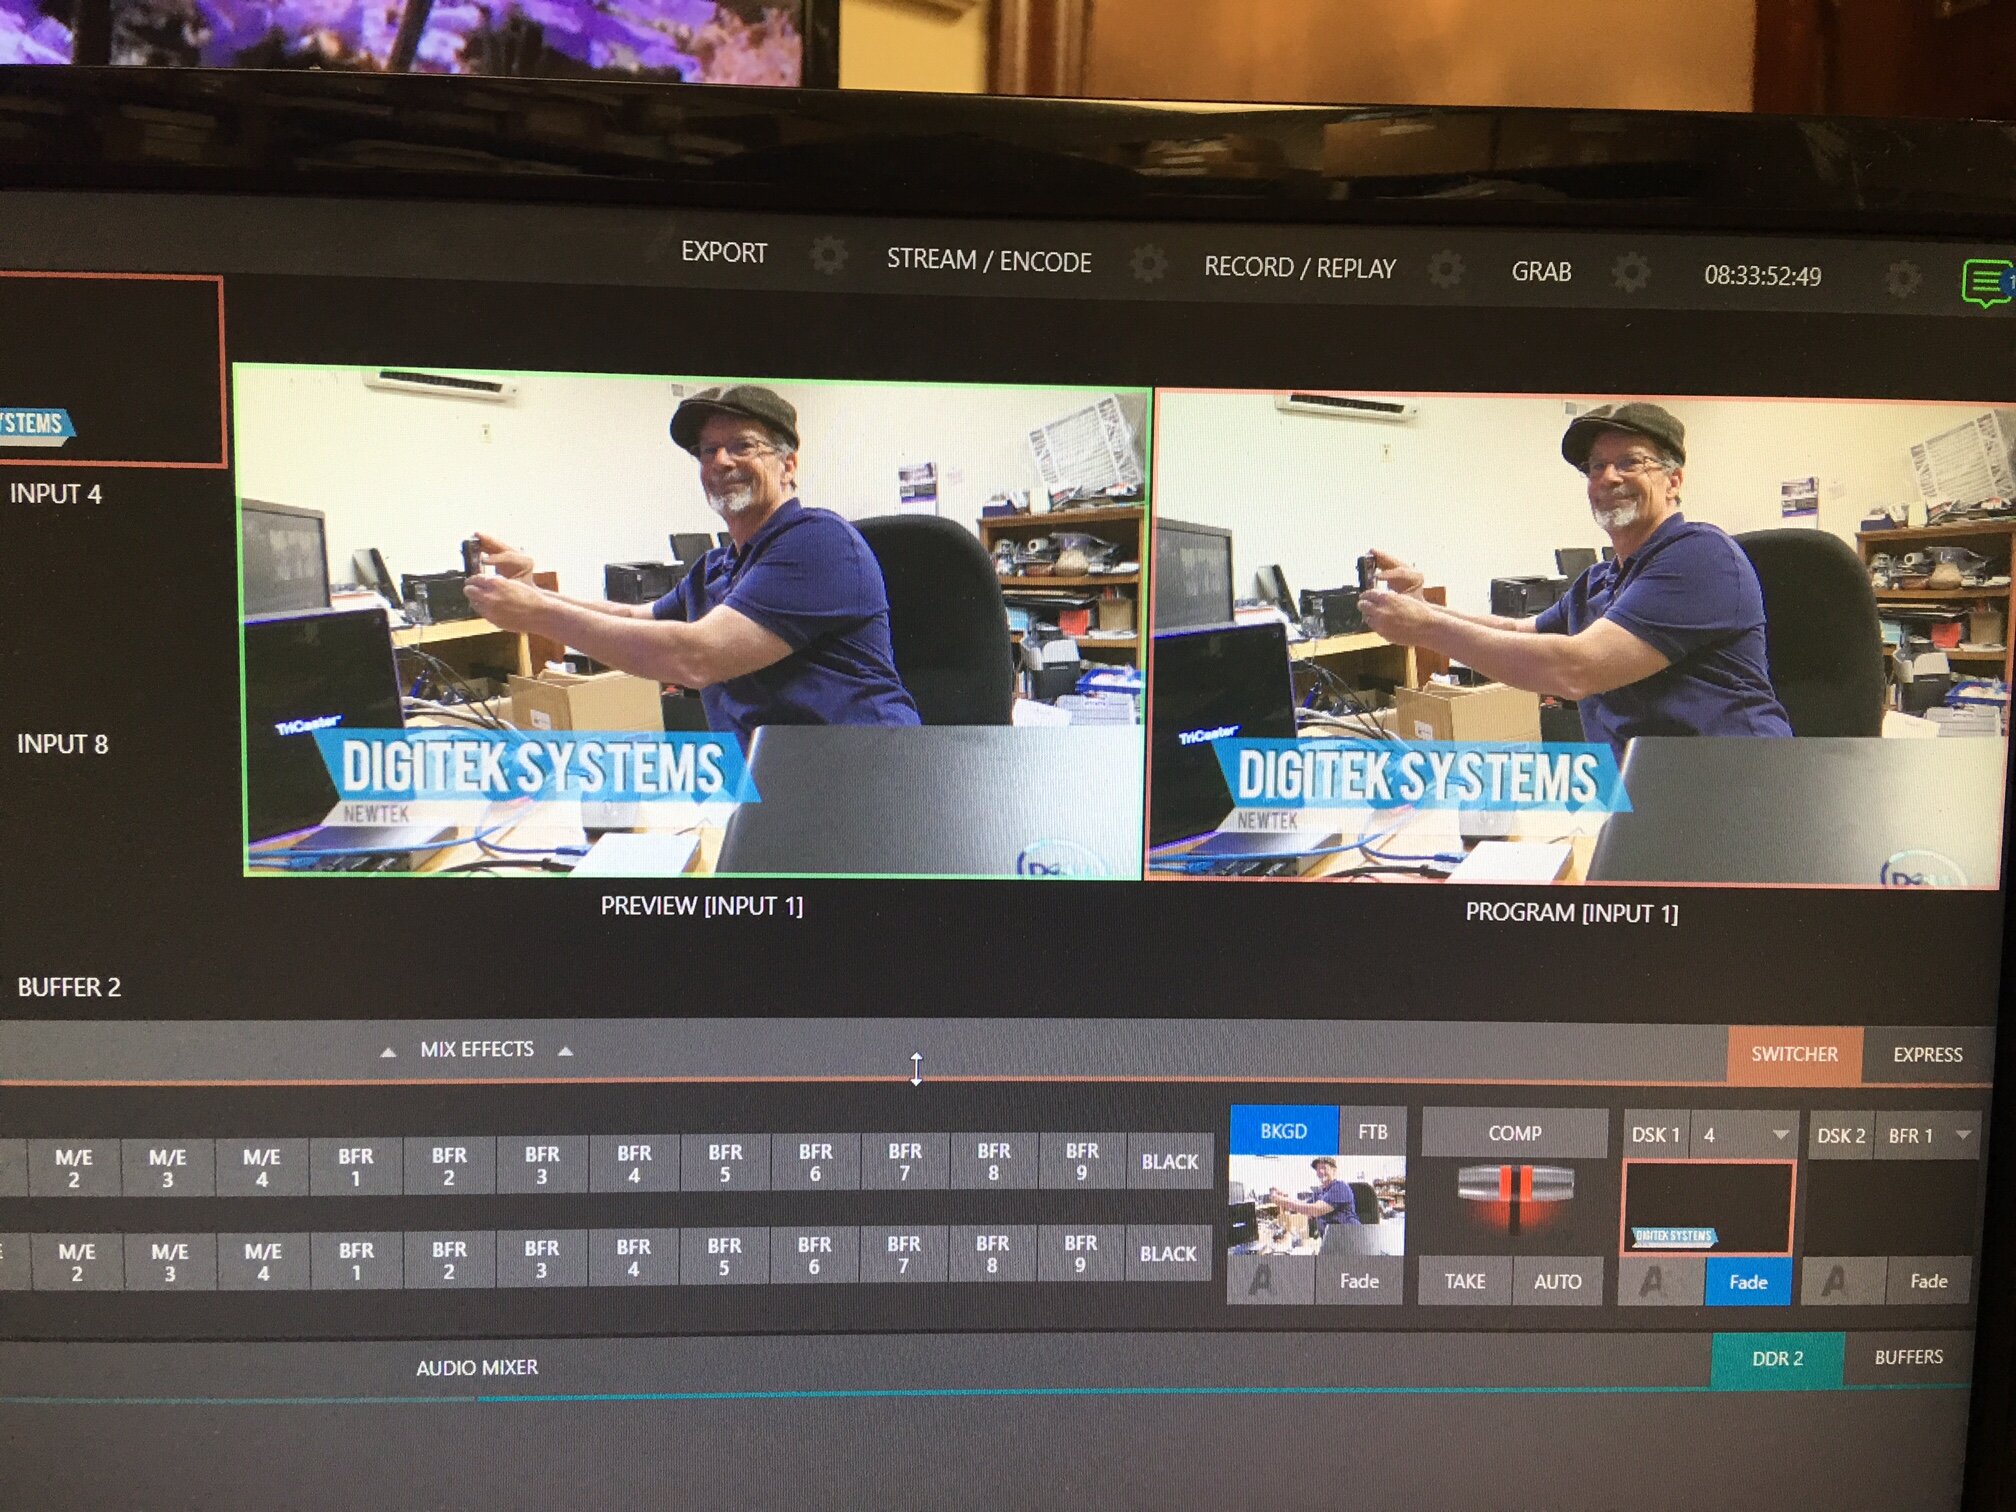
The output of the NewBlueFX software coming directly into the TriCaster TC Mini. The connection is a CAT-6 cable coming from the laptop and going to an NDI port on the TC Mini. Nothing needed to be done to make this work in terms of setting-up an IP address on the laptop or creating network . . . it simply works as a direction connection between the two devices. And yes, that is me, Matt Drabick.
BESIDES BEING A PURELY NDI INPUT/OUTPUT SYSTEM, HOW ELSE DOES THE NEW TC MINI DIFFER FROM OTHER NEWTEK TRICASTERS?
The new TriCaster TC Mini only offers progressive sessions. You can bring in an interlaced source via an NDI encoder but the output will be progressive only. The TC Mini only works with stereo audio. You can’t create customizable macros. The TC Mini has buffers for loading stills and titles but no graphics (GFX) bins. And waveform/vectorscope displays are not included. Enough said!
If you have any questions about the new TriCaster TC Mini please fill out the form below, shoot an email to mdrabick@mindspring.com or call/text Matt Drabick with DigiTek Systems at 919 810 9457.
